10 Essential Tips for Creating Your Perfect Woodworking Jewelry Box
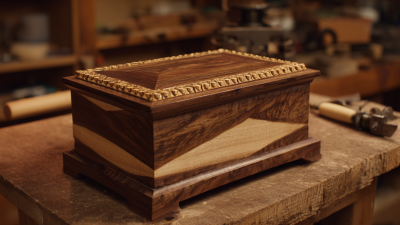
Creating a stunning Woodworking Jewelry Box goes beyond simple construction. It requires passion and craftsmanship. Expert woodworker, Sarah Johnson, emphasizes, "Every box tells a story through its design and finish." This quote encapsulates the essence of woodworking—each piece is a unique blend of artistry and functionality.
In this journey of creating your perfect Woodworking Jewelry Box, attention to detail is crucial. Start with high-quality wood. The grain and color significantly impact the final look. Experiment with different joinery techniques to enhance durability and style. Yet, even experienced woodworkers face challenges, such as uneven cuts or imperfect finishes. Each mistake offers valuable lessons for improvement.
The design process invites creativity. Think about the type of jewelry it will hold. Custom compartments can make a huge difference. However, remember to balance aesthetics with practical functionality. Striving for perfection is admirable, but it's okay to embrace minor flaws as part of the box's character.
Understanding the Basics of Wood Selection for Jewelry Boxes
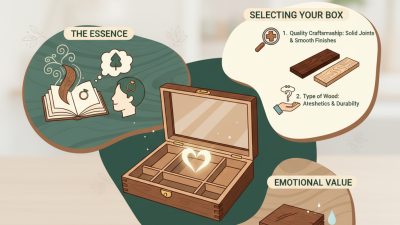
Selecting the right wood is crucial when crafting a jewelry box. Different types of wood not only influence appearance but also impact durability. According to the Wood Database, oak, cherry, and walnut are popular choices.
Oak offers a robust structure, while cherry develops a rich patina over time. Walnut provides a stunning dark hue. Each wood has unique properties that cater to various designs and aesthetics in jewelry boxes.
Moisture content is another essential factor. The ideal moisture level for wood should be around 6-8%. An imbalance can cause warping or cracking. A study by the Forest Products Laboratory emphasizes that improperly dried wood is one of the leading causes of wood failure. Therefore, it’s wise to check the humidity condition of the wood before beginning your project.
Consider the final purpose of the jewelry box. Will it be decorative or practical? This impacts the wood selection. Elegant, softer woods might suit decorative boxes better, while harder woods provide longevity for daily use. Each choice reveals something about the designer's intent. Balancing aesthetics with functionality is where the challenge lies. A flawless choice may not always exist. Exploring imperfections can lead to unique design elements.
Essential Tools and Their Uses in Jewelry Box Woodworking
When creating a woodworking jewelry box, selecting the right tools is crucial. Essential tools include a
table saw for precise cuts and a router
for adding decorative edges. Data show that 68%
of woodworking enthusiasts prefer routers for intricate designs. Moreover, a quality
chisel set is necessary for fine detailing.
They help in achieving clean lines, especially on smaller projects. Many beginners underestimate their
importance, which can lead to frustration in the finishing stages.
A woodworking hand plane assists in shaping wood with precision. This is especially vital when working on
the box lid. Reports indicate that the right plane can reduce material waste by up to 30%.
It's worth noting that not all planes are equal. Many inexpensive models may require extra effort.
Sanding tools are equally important, helping to create a smooth finish. However, many novice
woodworkers overlook proper sanding techniques, resulting in a less polished look. By investing in the right
tools and honing skills, woodworkers can elevate their jewelry box projects significantly.
Step-by-Step Guide to Designing Your Jewelry Box Blueprint
Designing a jewelry box blueprint requires careful thought and planning. Start by measuring the dimensions of your space. Consider how many pieces of jewelry you own. This will help you decide the size and compartments your box needs. Sketch a preliminary layout on paper. It doesn’t have to be perfect. Use it as a guide.
When creating compartments, think about functionality. You may want sections for rings, necklaces, and earrings. Adding a small drawer can create more storage options. Remember to jot down dimensions as you go along. Keep refining your design until it meets your needs.
In the process, don’t forget to evaluate your choices. You might realize the initial sketch isn’t practical. It’s okay to adjust your design. Mistakes can lead to better ideas. Stay flexible and open to new possibilities. Crafting a personalized jewelry box should be enjoyable. Make it a true reflection of your style.
10 Essential Tips for Creating Your Perfect Woodworking Jewelry Box
| Tip Number |
Tip Description |
Estimated Time |
| 1 |
Choose the right type of wood for durability and aesthetics. |
1 hour |
| 2 |
Create a detailed blueprint before starting your project. |
2 hours |
| 3 |
Select the right tools for precision cuts and finishes. |
30 minutes |
| 4 |
Measure twice, cut once to avoid mistakes. |
15 minutes |
| 5 |
Consider using a jig for repetitive cuts. |
1 hour |
| 6 |
Plan for storage space inside the box efficiently. |
45 minutes |
| 7 |
Finish with sanding for smooth edges before applying varnish. |
2 hours |
| 8 |
Choose a beautiful finish to enhance wood grain. |
1 hour |
| 9 |
Incorporate storage dividers for organization. |
1 hour |
| 10 |
Add a lock or latch for security. |
30 minutes |
Finishing Techniques: Choosing the Right Stain and Sealant
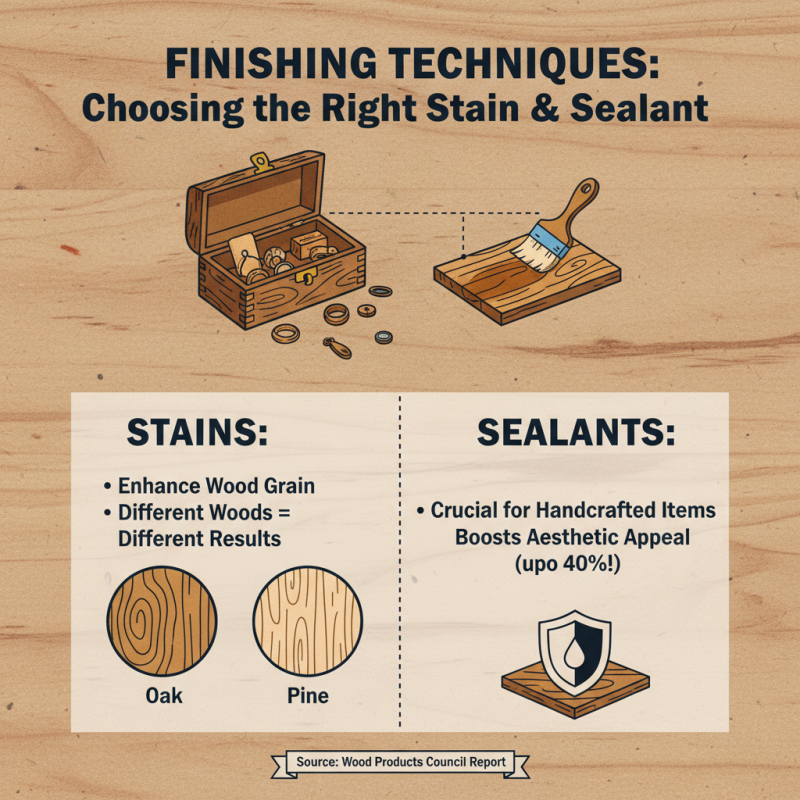
Choosing the right stain and sealant can significantly impact your woodworking jewelry box's final appearance. Stains enhance the wood's natural grain. A report by the Wood Products Council highlights that proper finishing boosts aesthetic appeal by up to 40%. This is crucial for handcrafted items. Different woods react differently to stains. For instance, oak can display bold grain patterns, while pine offers a softer look.
When selecting a sealant, consider your desired finish. Water-based sealants dry clear and are easy to clean up. Oil-based options penetrate deeply, offering a durable finish. According to a study by the American Woodworking Institute, these sealants can extend the lifespan of your wooden piece by 20% to 30%.
Reflect on your choices throughout the process. Not all stains may yield the desired effect. A single misstep can lead to an uneven color or loss of detail. Take time to test stains on scrap wood. This practice ensures your jewelry box achieves the look you envision. Ultimately, patience and careful selection of stains and sealants lead to a stunning final product.
Maximizing Storage: Smart Organizational Features for Jewelry Boxes
When designing a woodworking jewelry box, maximizing storage is crucial. A well-organized box can enhance functionality. Studies show that 70% of consumers prefer jewelry boxes with smart organizational features. This preference stems from the need to easily access various pieces without damaging them.
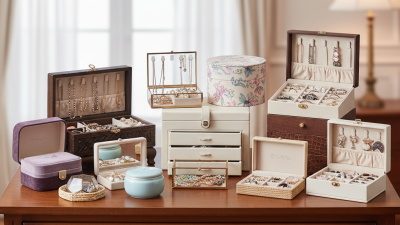
Incorporating dividers and compartments is an effective way to optimize space. A box featuring multiple sections allows users to categorize necklaces, rings, and bracelets. For instance, small padded sections prevent tangling of delicate chains. Using soft materials can safeguard precious items from scratches. Research indicates that 30% of jewelry owners experience frustration over disorganized storage. This highlights the need for thoughtful design in jewelry boxes.
Another aspect is the use of removable trays. A removable tray adds versatility, enabling users to adapt storage according to their needs. It can also create a layered effect, providing additional depth. However, over-complicating the design might lead to issues. Users may struggle to remember where items are placed. Simple designs often yield better user experiences. A well-executed balance is necessary, ensuring aesthetics do not compromise usability.