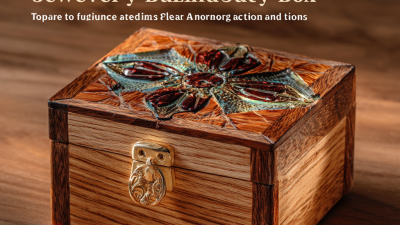
How to Make a Woodwork Jewelry Box at Home?
Creating a Woodwork Jewelry Box is a rewarding project for artisans and hobbyists alike. Statistics show that the handcrafted furniture market reached $18 billion in 2022, with woodwork gaining significant popularity. Experts, like renowned craftsman John Marston, emphasize, “Handmade pieces hold more value than mass-produced items.” This statement reflects the allure of personalized craftsmanship.
Constructing your own Woodwork Jewelry Box allows for creativity and self-expression. The process can be challenging, requiring skill and patience. Many enthusiasts face hurdles, whether choosing the right wood or mastering the necessary techniques. Each mistake offers a lesson, fostering growth in one’s craft.
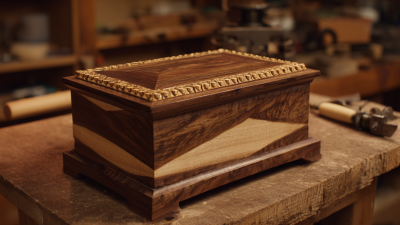
Moreover, the joy of completing a project is immense. A Woodwork Jewelry Box not only stores precious items but can also serve as a family heirloom. As you embark on this journey, remember that imperfections are part of the process. Every dent and flaw tells a unique story, making your creation truly one-of-a-kind.
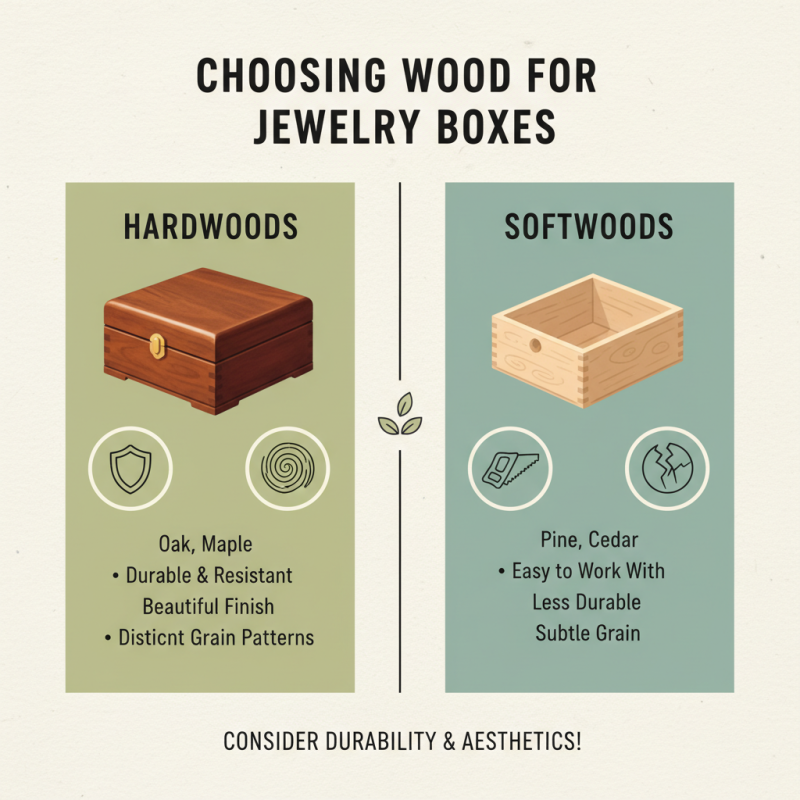
Choosing the Right Wood for Your Jewelry Box Project
When choosing wood for your jewelry box project, consider durability and aesthetics. Hardwoods, like oak or maple, resist wear and tear. These options provide a beautiful finish. Softwoods, such as pine, are easier to work with but may not last as long. Each wood type has its distinct grain, which can enhance the charm of your creation.
Think about the weight as well. A heavier box feels substantial, while lighter wood might be more practical for delicate pieces. Look at the wood's color, too. A rich, dark hue can add elegance. You may want to experiment with stains and finishes, but remember that these can change the final appearance.
Don't forget the tools. Some woods are tougher to cut. Simple mistakes can lead to splintering or uneven edges. If you're unsure, practice on scrap wood first. Trust your instincts. Sometimes, the best projects come from unexpected choices. Consider how the wood will age over time. Will it still look good in a few years? These reflections can guide your decision-making nicely.
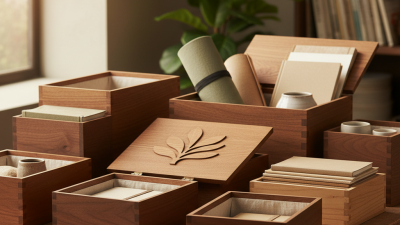
Essential Tools and Materials for Creating a Wooden Jewelry Box
Creating a wooden jewelry box at home can be a rewarding project. To get started, you will need several essential tools and materials. A quality saw is crucial for cutting your wood pieces accurately. A miter saw can ensure straight cuts for corners. Additionally, a hand saw may come in handy for smaller adjustments.
You’ll also need sandpaper. This will help smooth out rough edges and surfaces. Choose a variety of grits for different stages of sanding. A drill is necessary for making holes for hinges and clasps. Screws and nails are also vital for assembly. Remember to measure twice before cutting. Mistakes can happen, and it’s frustrating to realize you cut a piece too short.
Wood glue will provide extra strength to the joints. Consider using clamps to hold pieces together as the glue dries. A finishing stain or paint can enhance the box’s appearance. While this adds beauty, it can also obscure small imperfections. Reflect on your work and plan ahead. Each box can teach you something new, even if it doesn’t turn out perfect.
Step-by-Step Instructions for Constructing the Jewelry Box
Creating a woodwork jewelry box can be a rewarding project. Begin by gathering materials. Choose a sturdy type of wood. Pine or oak works well. You will need a saw, sandpaper, and wood glue. Measure the dimensions carefully. A typical size might be 12 inches long and 8 inches wide.
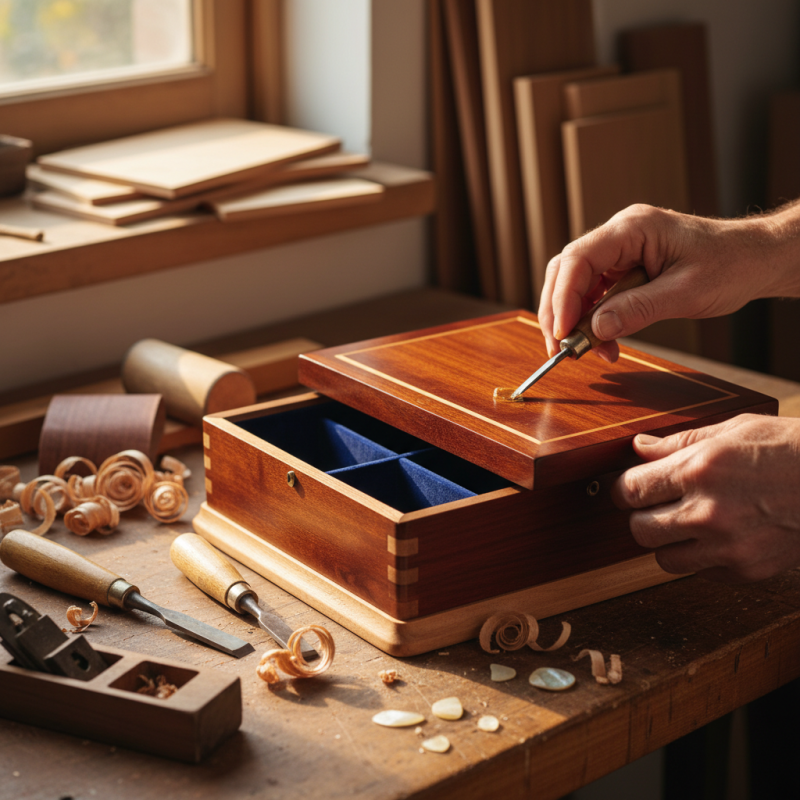
Cut the wood pieces according to your measurements. Take your time with the saw. Cut each piece straight. Uneven cuts can lead to poor assembly. Once finished, sand the edges. This step is crucial for a smooth finish. It helps prevent splinters later. Assemble the box using wood glue. Allow it to dry completely.
Consider adding a simple latch for security. You might want to stain or paint the wood for aesthetics. But don’t rush this step; each finish requires patience. Reflect on any mistakes you made. Perhaps a cut was a bit off or the glue did not hold at first. These moments teach valuable lessons. Enjoy the process, and take pride in what you've created.
How to Make a Woodwork Jewelry Box at Home?
| Step |
Description |
Materials Needed |
Time Required |
| 1 |
Measure and cut the wood pieces to the desired dimensions for the box. |
Wood planks, measuring tape, saw |
1 hour |
| 2 |
Sand the edges and surfaces of the wood pieces to ensure they are smooth. |
Sandpaper, sanding block |
30 minutes |
| 3 |
Assemble the pieces using wood glue and clamps. |
Wood glue, clamps |
1 hour |
| 4 |
Attach the lid and make sure it opens and closes smoothly. |
Hinges, screws |
30 minutes |
| 5 |
Finish the box with varnish or paint for protection and aesthetics. |
Varnish or paint, brush |
1 hour |
Finishing Techniques to Enhance Your Woodwork Jewelry Box
Finishing techniques can elevate a woodwork jewelry box. They enhance beauty and durability. A simple sanding process helps achieve smooth surfaces. Start with coarse sandpaper, moving to finer grits. It feels great to see the wood grain emerge.
After sanding, consider oil applications. Oils add richness to the wood. However, choosing the right type can be challenging. Some oils darken the wood too much. Testing on a small piece is wise. Not every oil will give the desired effect.
Varnishing is another option. It protects the box from moisture. Applying it evenly is crucial. Brush marks can ruin the finish. A spray application might yield a smoother result. Patience is key; letting layers dry sufficiently prevents issues later. Reflect on these techniques to truly enhance your creation.
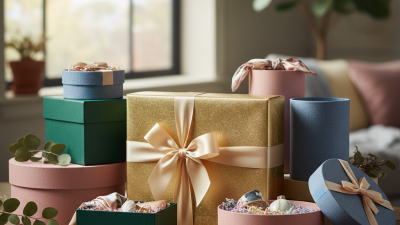
Tips for Personalizing and Decorating Your Jewelry Box
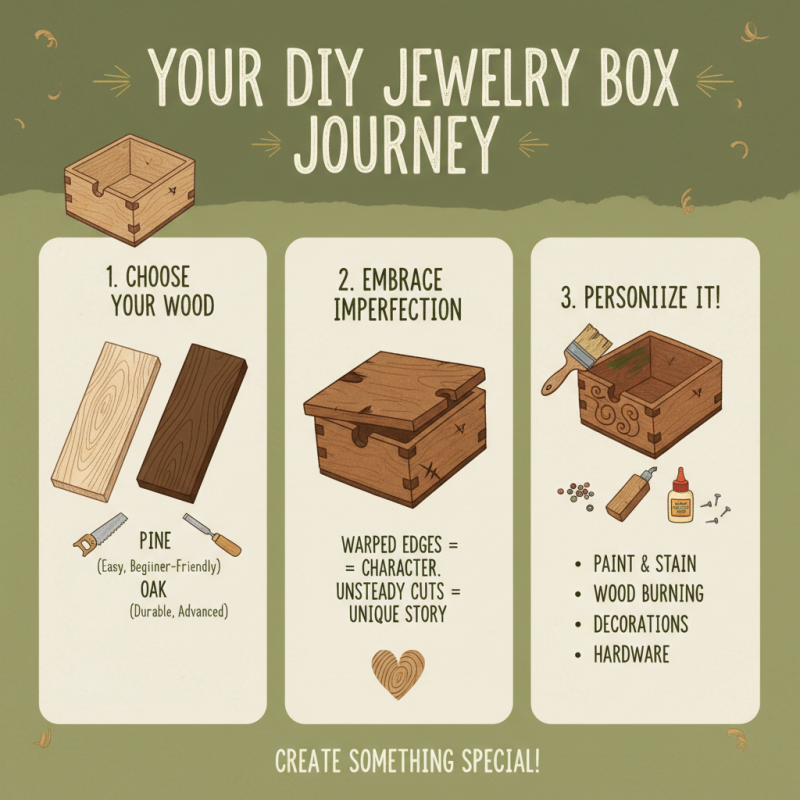
Creating a personalized jewelry box at home can be enjoyable and fulfilling. Start by selecting the type of wood you want to use. Softwoods like pine are easier to work with for beginners. Always remember, imperfections can add character. A warped edge or an unsteady cut might enhance the box's story.
When decorating your jewelry box, think about colors and textures. You might use paint or wood stains. A simple whitewash can create a rustic look. For a more whimsical touch, consider adding stickers or stencils of your favorite designs. Don't be afraid to experiment! Sometimes, bold choices lead to beautiful outcomes.
To make your box truly unique, incorporate personal elements. Try engraving names or dates on the surface. Adding a piece of fabric inside can also provide a soft touch. Use remnants of fabric that hold sentimental value. Reflect on what inspires you, and let that guide your decorations. Embrace flaws as part of your creative journey. They can make your jewelry box more meaningful.